
Introduction: Building a Dust-Collecting Workbench Are you tired of sawdust getting everywhere in your workshop? This guide will walk you through building a workbench with a built-in dust collection system, keeping your workspace cleaner and your lungs healthier. This project requires intermediate woodworking skills and access to basic power tools. Let's get started!
Step 1: Planning and Materials Before you start, you'll need a plan. Consider the size of your workspace and the types of projects you usually work on. A good size for a general-purpose workbench is approximately 6 feet long, 2.5 feet wide, and 3 feet high. Here's a list of materials you'll need:
- 4x4 lumber for the legs
- 2x4 lumber for the frame and supports
- ¾-inch plywood for the workbench top and dust collection enclosure
- 4-inch PVC pipe and fittings (elbows, couplings, etc.)
- Dust collector hose
- Blast gate (4-inch)
- Wood screws (various sizes)
- Wood glue
- Sandpaper
- Finish of your choice (polyurethane, varnish, etc.)
Step 2: Building the Workbench Frame Cut the 4x4 lumber to the desired height for your workbench legs (usually 36 inches). Assemble the frame using 2x4 lumber. The frame should be slightly smaller than the plywood top to allow for a slight overhang. Use wood glue and screws to join the frame members to the legs. Ensure everything is square and level. Add cross supports between the legs for added stability. These supports can be 2x4s or even strips of plywood. Clamping the frame during assembly will improve the strength of the joints.
Step 3: Creating the Dust Collection Enclosure The dust collection enclosure will be built beneath the workbench top, integrated into the frame. Decide where you want the dust collection port to be located. Construct a box-like enclosure using ¾-inch plywood. The dimensions of the enclosure depend on the size of your workbench. The enclosure should have a large opening on the top side that will sit directly under the area where you do most of your sanding or cutting. Leave space for the 4-inch PVC pipe to connect to the dust collector.
Step 4: Integrating the Dust Collection System Drill a hole in the side of the dust collection enclosure large enough for the 4-inch PVC pipe. Connect the PVC pipe to the hole using PVC cement or screws. Run the PVC pipe to a convenient location where you can attach your dust collector hose. Install a blast gate inline with the PVC piping to allow you to control airflow to the workbench. Secure the dust collection enclosure to the workbench frame using screws and wood glue.
Step 5: Attaching the Workbench Top Cut the ¾-inch plywood to the desired size for your workbench top. The top should overhang the frame slightly on all sides. Attach the plywood top to the frame using screws. Countersink the screws to avoid creating sharp edges. Before attaching, consider drilling holes in the workbench top where you expect to generate most dust and debris. These holes should line up with the open space inside the dust collection enclosure.
Step 6: Sanding and Finishing Sand the entire workbench, including the frame, top, and dust collection enclosure, to create a smooth surface. Start with a coarse grit sandpaper (80 grit) and gradually move to a finer grit (220 grit). Apply a finish of your choice to protect the wood and make it easier to clean. Polyurethane is a durable and water-resistant option. Apply several coats of finish, allowing each coat to dry completely before applying the next.
Step 7: Testing and Adjustments Connect your dust collector to the PVC pipe and test the system. Ensure that the blast gate opens and closes smoothly. Check for any leaks in the dust collection enclosure. Make any necessary adjustments to improve the system's performance. You may need to add baffles or redirect airflow inside the enclosure to optimize dust collection.
Conclusion: A Cleaner Workshop Congratulations! You've built a workbench with a built-in dust collection system. This will help keep your workshop cleaner and protect your health. Remember to always wear safety glasses and a dust mask when working in your workshop. Regularly empty your dust collector to maintain optimal performance. Enjoy your new dust-free workspace!
Homak Garage Series 5 Ft. Industrial Steel Workbench With Cabinet Storage-gs00659031
 www.homedepot.com
 Craftsman Workbench With Drawers Offer
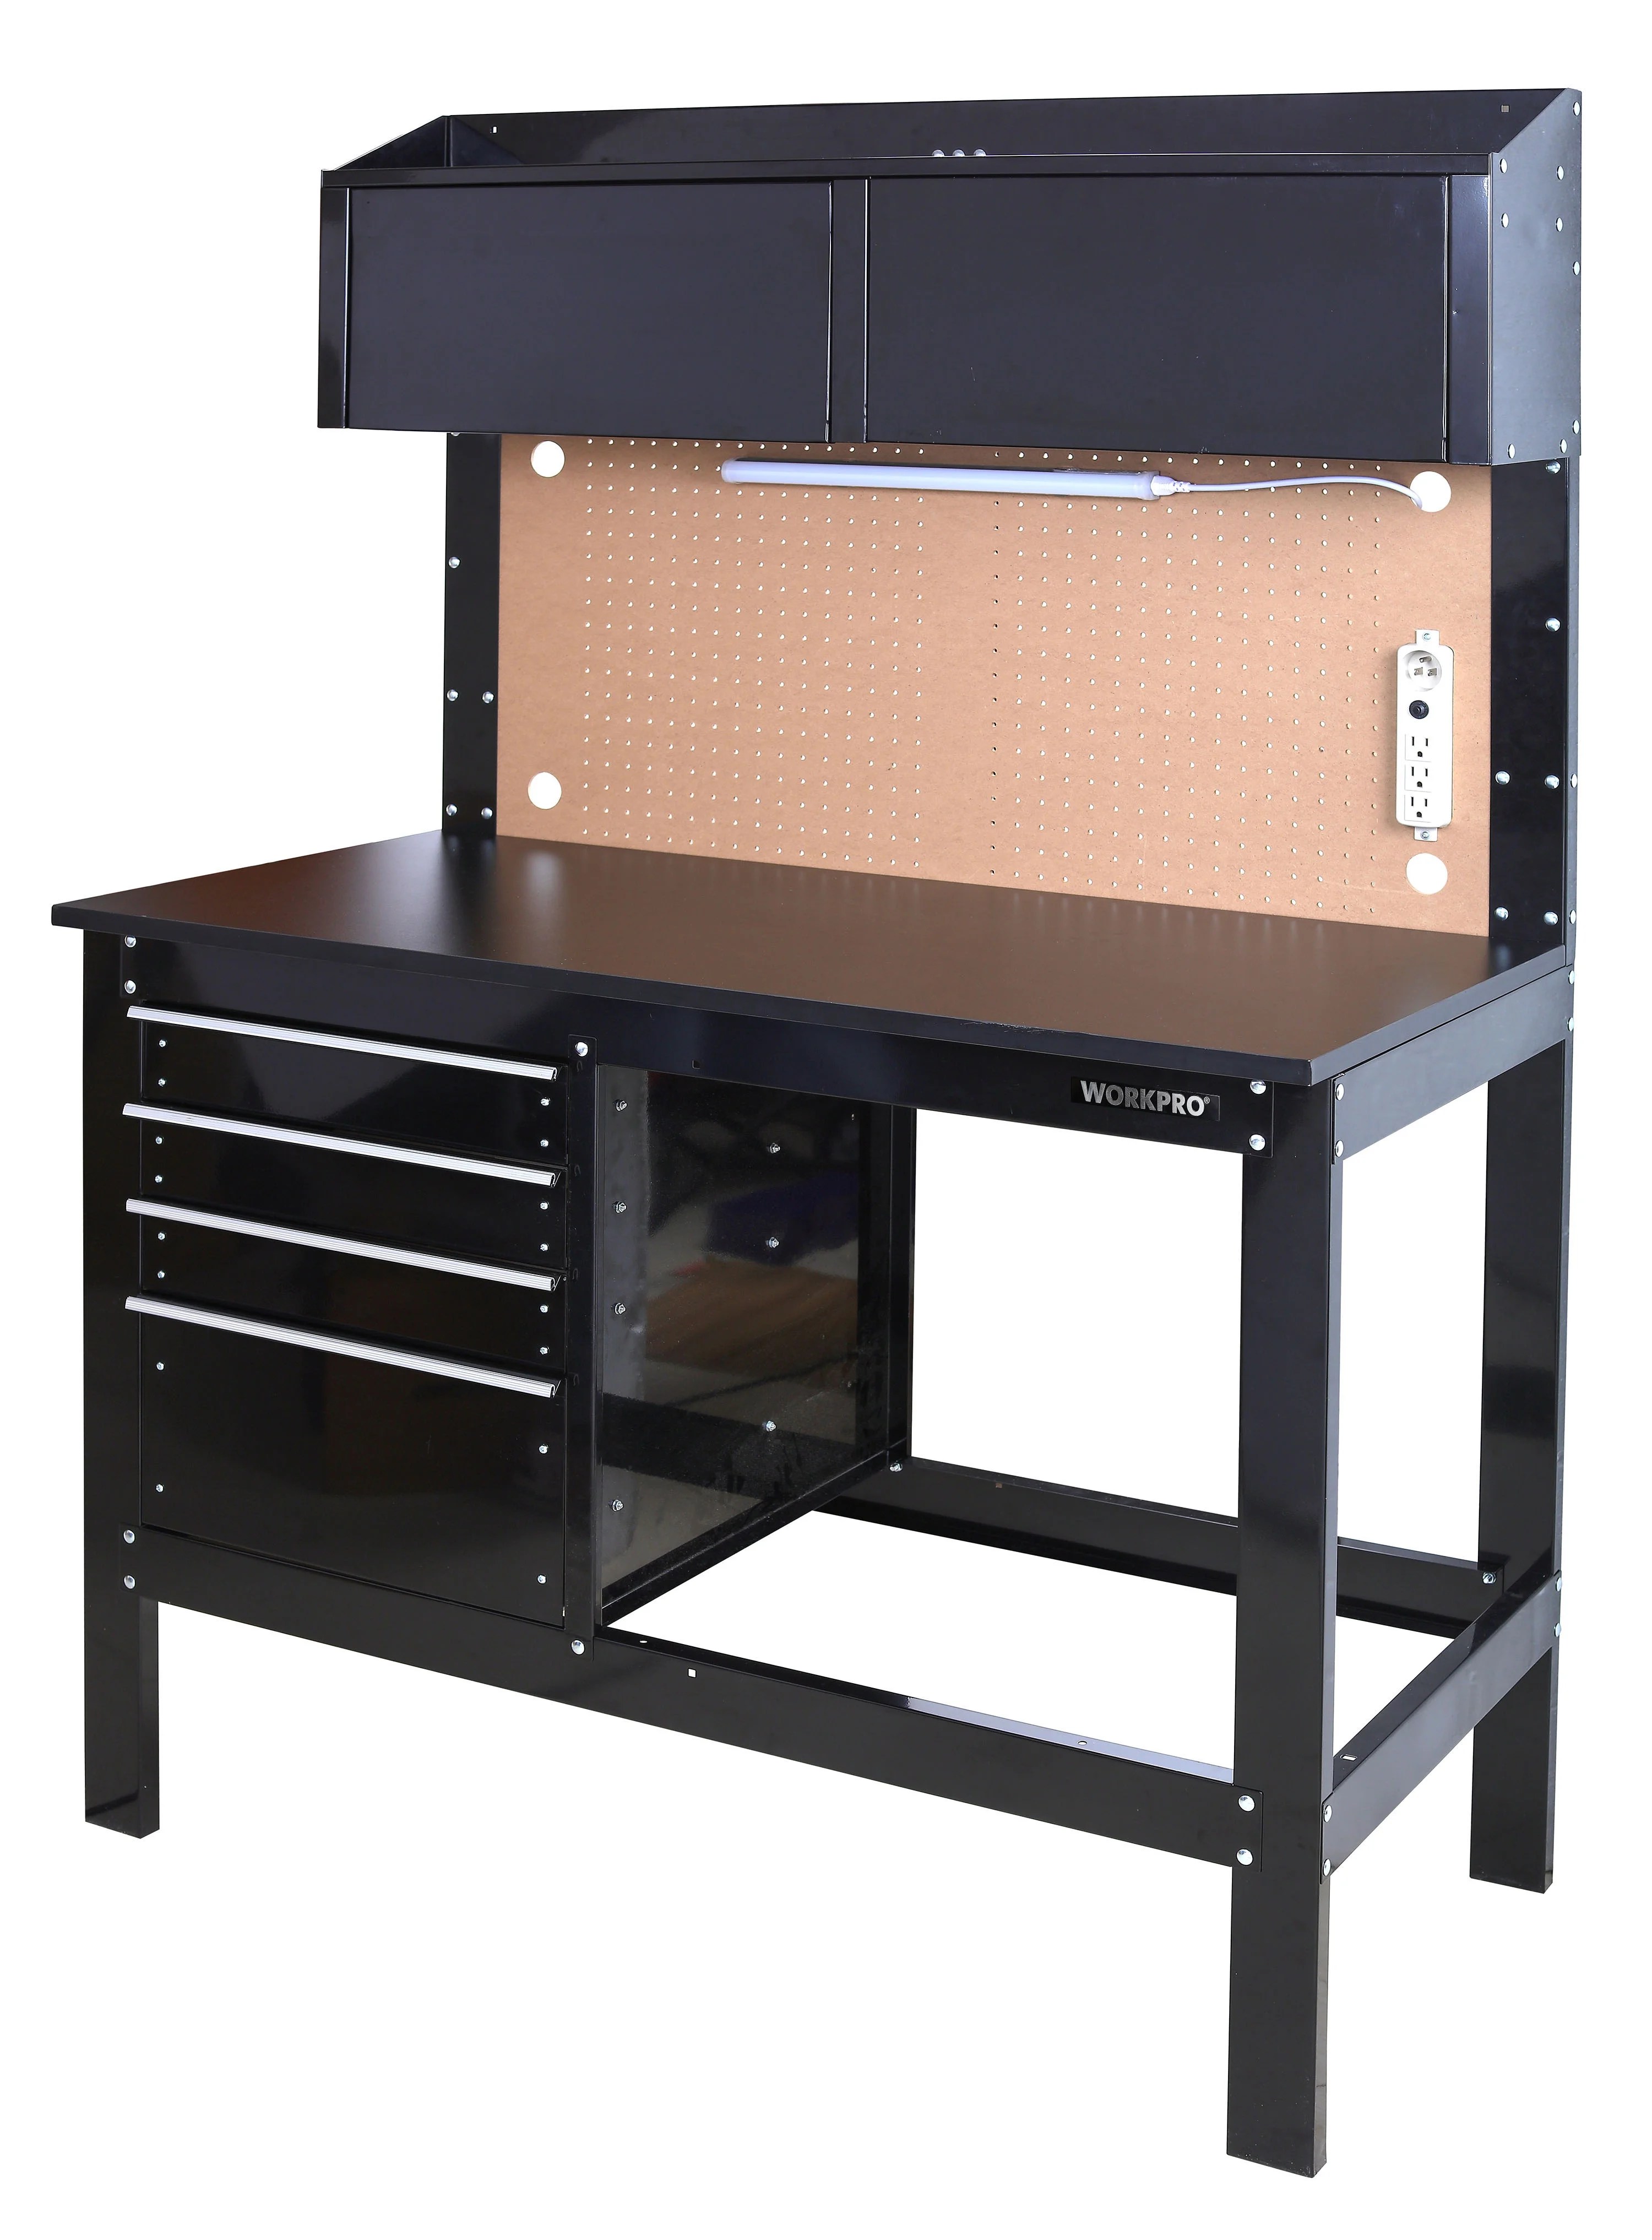
Workpro 2-in-1 48in Workbench And Cabinet Combo With Work Light
 www.walmart.com


0 komentar:
Posting Komentar